Creating AnyDB Data Documents
Data documents are the foundational building blocks in AnyDB. They represent structured business records—like customer profiles, invoices, or tasks—and are organized in a dynamic, spreadsheet-like interface that’s intuitive yet powerful.
Each data document is created from a AnyDB Template, which defines its structure. This ensures consistency across records, enabling streamlined operations, reporting, and automation.
Creating a New Data Document
To create a new data document, you can either
- Click on the '+' button next to the database name in left sidebar to create a new item
- Click on the '+' button next to any existing data document to create a new data document that is created as a child of the existing data document.
- In the folder view, you can click on '+ Add Item' to create a new data document in that folder.
- In the data document view, you can click on '+ Add Item' to create a new data document attached to the current data document.
New AnyDB Item Creation Dialog
You can:
- Browse available templates
- Search by name or description of the template you are looking for
- Or, create a new one from scratch
Browse and create a data document from an existing template
In the New Item Creation Dialog, you can browse through available templates

When you find a template you like, click on it to create a new data document based on that template. This will automatically generate a ready-to-use business record for you to fill in.
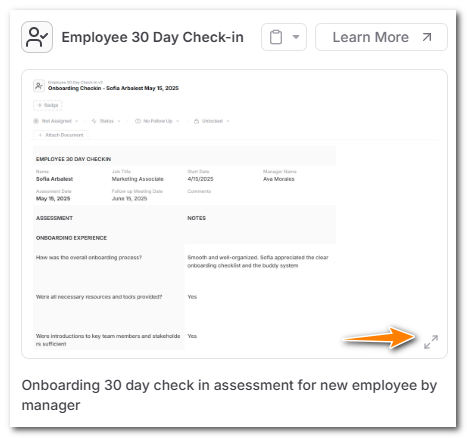
If you want to find more information about the template, you can see the preview section on the right side of the new item creation dialog and click on the expand icon to view the full size preview of the template.
Create a new data document from scratch
If you want to create a new data document from scratch, you can do so by following these steps:
- Click the
+ Add Itembutton - In the new item dialog, select first “Data Document” option in the list
- A blank grid will appear. Click into the content area to begin editing.
You'll see a spreadsheet-like layout, with columns (A, B, C...) and rows (1, 2, 3...). You can:
- Click into cells to type content
- Use arrow keys to navigate
- Press
Escapeto exit edit mode and return to read-only view